Blossom With Beauty: 10 Must-Try Flower Nail Designs
Flowers represent love, beauty, and elegance. What about bringing the beauty of these beautiful flowers to your nails? Yes, flower nail designs are the best way to welcome the spring or holiday season. From delicate sunflowers to vibrant roses, flower nail designs give you more opportunities to make your nails bloom with beauty.
These trendy nail designs are the ideal way to showcase your creativity, whether you are getting ready for a night party or just want to add some color to your lazy day. You can easily modify your nail art to suit your individual tastes and preferences, thanks to the wide variety of colors, styles, and nail shapes available.
With these classy and glamorous nail designs, the possibilities are countless. So why wait? Indulge in the beauty of this spring with these stunning floral manicures.
Table Of Contents
- Floral Nail Art Takes Hollywood By Storm
- Different Flower Nail Designs
- Techniques For Creating Flower Nail Designs
- Colors And Combinations For Flower Nail Designs
- Flower Nail Designs For Different Occasions
- Let Your Nails Smile With Adorable Floral Nail Designs
Floral Nail Art Takes Hollywood By Storm
The following Hollywood stars recently posted pictures of their floral nail art on social media.
Hailey Bieber – The model and Justin Bieber‘s wife, Hailey Bieber, posted pictures of her floral nail art on Instagram.
Vanessa Hudgens – Vanessa Hudgens, the actress, and singer, frequently posts images of her manicures on Instagram, some of which have floral patterns.
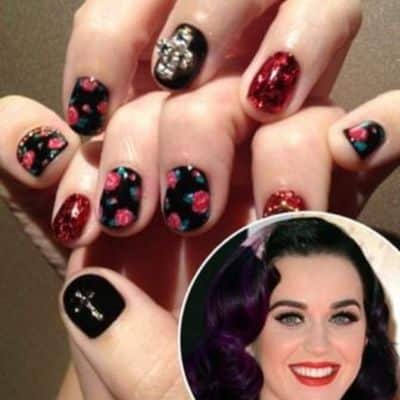
Katy Perry – Katy Perry, an American singer, songwriter, and television judge, is popular for her unique and colorful fashion choices and nail designs, including floral patterns.


Different Flower Nail Designs
If you are a fan of floral designs, here are 10 creative floral nail designs that use different techniques to achieve beautiful looks. Here we mentioned the tools needed to achieve each look, as well as step-by-step instructions for easy DIY at home.
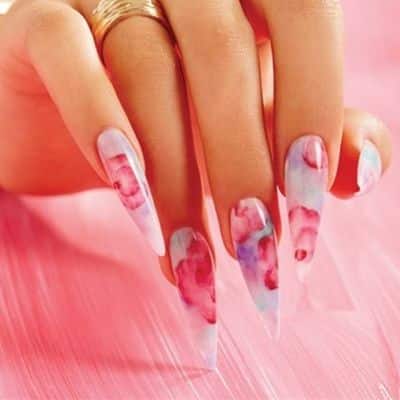
1. Watercolor Florals Designs
This simple flower nail design is ideal for a soft and dreamy look.
Materials Needed:
- White nail polish
- A clear top coat
- A fine brush
- Nail polish colors of your choice
Instruction:
Give a white nail polish base. Then, use a fine brush to create random strokes of color on your nails. The purpose of this idea is to create a watercolor effect, so don’t worry about making it too perfect. Finish the nail work with a clear top coat.
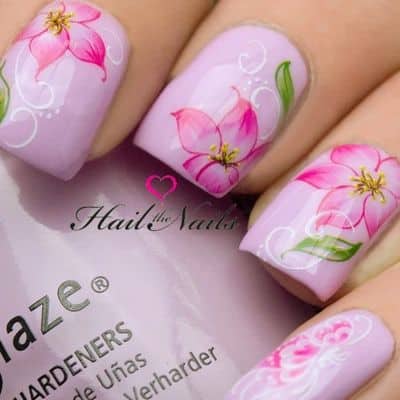
2. Embossed Flowers Manicure
This elegant flower nail design is suitable for adding some texture to your nails.
Material Needed:
- Light pink nail polish
- A stamping plate with a floral design
- A scraper
- A stamper.
Instruction:
First, paint your nails with light pink polish, and let it as your base. Now, apply the chosen floral design onto the stamping plate and scrape off the excess polish with the scraper. Transfer the design onto your nails using the stamper.
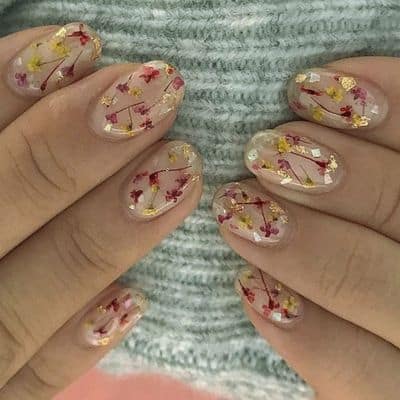
3. Pressed Flowers Nail Art
This summer flower nail design is perfect for people who want to include original flowers in their nail art.
Material Needed:
- A clear nail polish
- Variety of dried flowers
- Pair of tweezers
Instruction:
First, paint your nails with clear polish. Take the dried flowers using tweezers and place them carefully onto your nails. After arranging them, seal your design with another layer of clear polish.
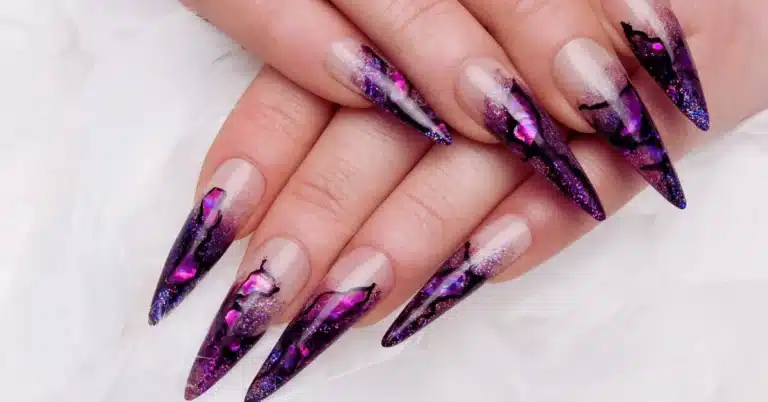
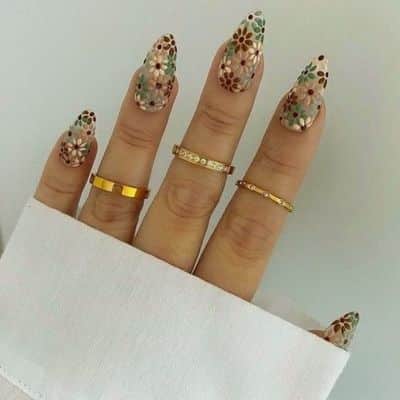
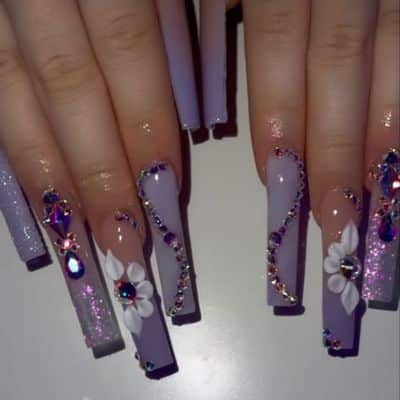
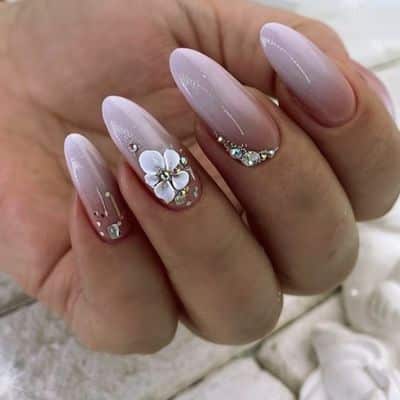
4. 3D Flowers Designs
This 3D flower nail design is ideal for adding some dimension to your nails.
Material Needed:
- A light purple nail polish
- A dotting tool
- A fine brush
- A 3D flower mold
Instruction:
Paint your nails with light purple nail polish. Then, create the center of each flower using a dotting tool. Next, draw the petals around the center using a fine brush. Finally, use the 3D flower mold to create a 3D flower design and attach it to your nails using nail glue.
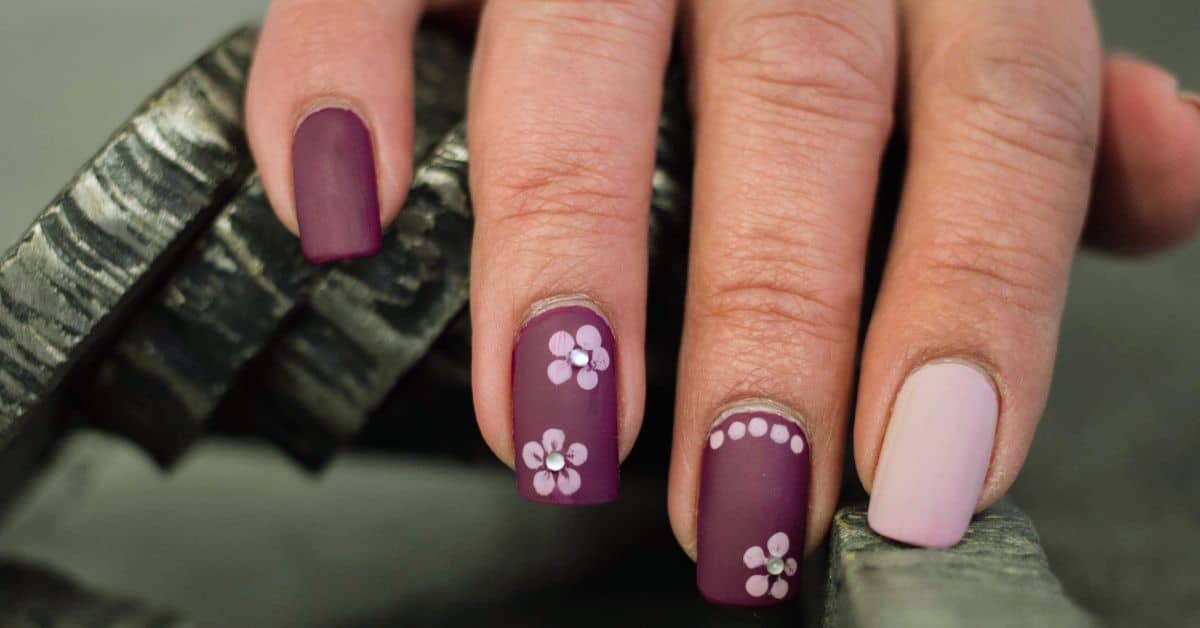
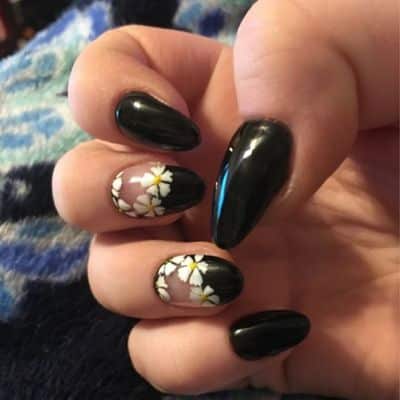
5. Negative Space Florals
This black and white flower nail design is perfect for people who want a unique and modern look.
Materials Needed:
- a white nail polish
- a dotting tool
- a fine brush
- a black nail polish
Instruction:
Paint your nails with white polish, and let it be the base. Then, use a dotting tool to put small black dots for the floral pattern. Next, fill in the negative space around the dots with black polish using a fine brush. The result will be stunning.
6. Ombre Flowers Designs
This ombre floral design is the favorite choice of people who love a gradient effect.
Material Needed:
- A pink nail polish
- A white nail polish
- A makeup sponge
- A dotting tool
- A fine brush
Instruction:
First, paint your nails with pink polish. Then, create a gradient effect by dabbing the white polish from the tip of your nails to the middle. Use the sponge for this. Next, create the floral designs using the dotting tool. Finally, use the fine brush to add details to the flowers and fill the gaps. Finish off white flower nail design with a clear top coat.
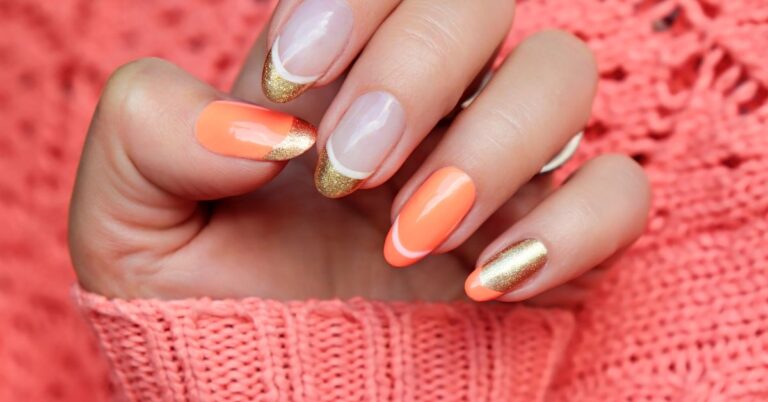
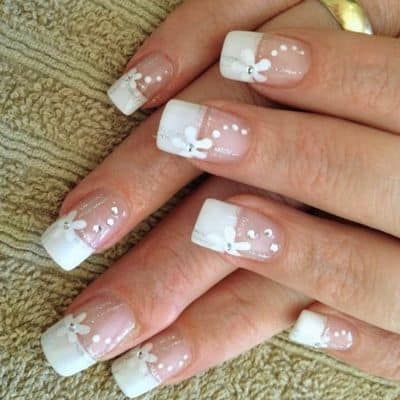
7. French Tip Florals
This French tip flower nail design is suitable for those who want a classic look with a twist.
Material Needed:
- A light pink nail polish
- A white nail polish
- A fine brush
- A dotting tool
Instruction:
Start by painting the tips of your nails with white polish and base using pink polish to create a French look. Then, create small flowers using a fine brush. You can use the dotting tool to create small dots in the center of each flower. Finally, finish the work with a clear top coat.
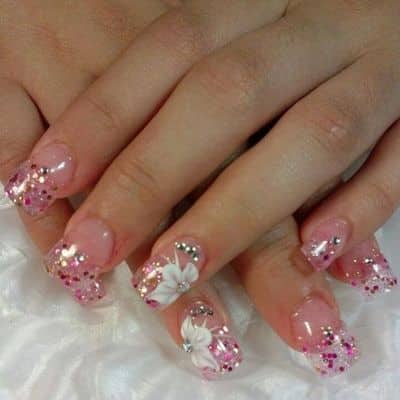
8. Glitter Florals
This pink flower nail design is perfect for those who want to add some glittery factors to their nail art.
Material Needed:
- A clear nail polish
- A glitter nail polish
- A fine brush
- And a dotting tool
Instruction:
Paint your nails with clear glitter polish. Let it be the base. Then, create small flower designs in white or light pink color using a fine brush. Put small center points using the dotting tool. Finish the complete design with a clear top.
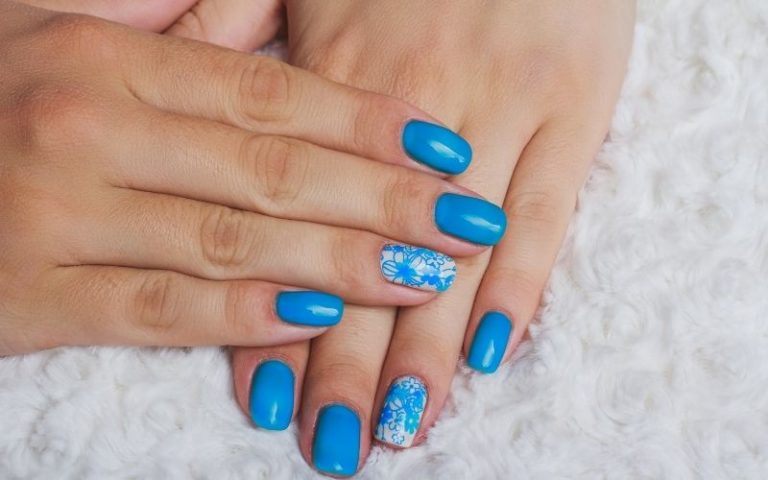
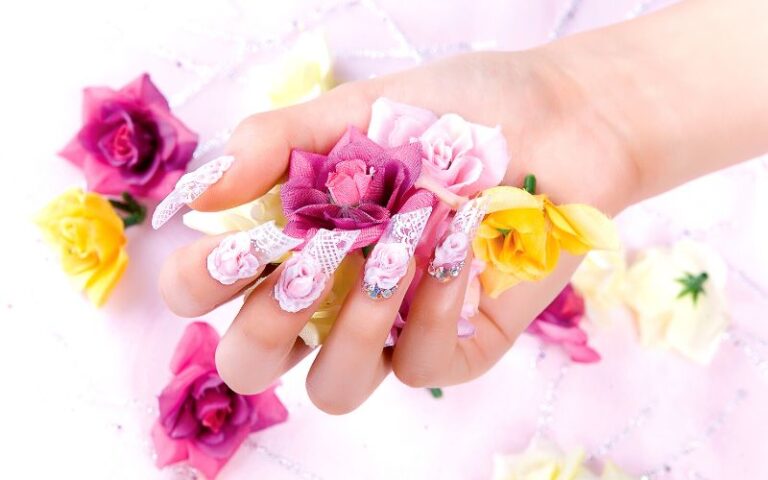
9. Lace Florals
This floral design is perfect for those who want a royal and intricate look.
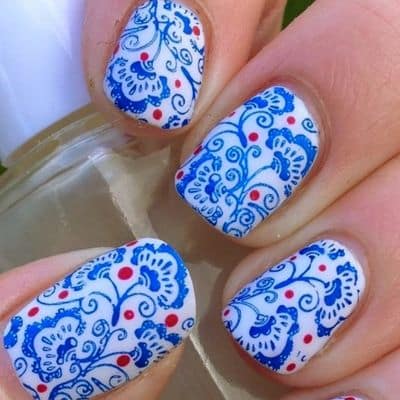
Material Needed:
- A blue nail polish
- A white nail polish
- Lace cutouts
- And a pair of scissors
Instruction:
Paint your nails with the white base. Then, cut out small pieces of lace, place them onto your nails, and use the blue polish to paint over them. Now, remove the lace carefully to reveal a delicate floral pattern on your nails. Finish the work with a clear top coat.
10. Flower Stickers
The sticker floral design is suitable for those who want a quick floral look.
Material Needed:
- Clear nail polish
- Floral stickers
- A pair of tweezers
Instruction:
Paint your nails with clear nail polish. Now, pick the sticker designs using tweezers, and arrange them onto your nails. Seal the entire design using a clear top coat after the arrangement.
Follow these simple DIY instructions with the right tools to create stunning floral nails at home.
Techniques For Creating Flower Nail Designs
Here are some of the techniques that you can use to create stunning flower nail designs.
- Dotting Tool: A dotting tool is used to create small dots on your nails. You can transform these dots into petals or the center of a flower.
- Striper Brush: Use this long, thin brush to create fine lines and details in your nail designs. Draw flower stems or intricate flower designs using this.
- Stamping Plates: They are pre-designed metal plates. The purpose of these stamps is to transfer intricate designs onto your nails. Generally, these stamping plates come in different patterns. You can also use this to create a detailed and professional-looking flower nail work.
- Striping Tape: This thin, adhesive tape is used to create straight lines and designs on your nails.
- Freehand Painting: In this method, paint the desired design directly onto your nail using a small brush. Here, you have the complete creative freedom to create any type of flower design that you can imagine.
- Water Marble: The water marbling technique is used to create swirled designs on your nails. Water and nail polish will be used in this method. With this design, you can create beautiful and unique flower designs.
Now, start experimenting with some of these techniques, and see which one suits your style best!
Colors And Combinations For Flower Nail Designs
One of the best advantages of these designs is the endless color and combination possibilities. Here are different color palettes and combinations that you can use to create your own beautiful and unique flower nail designs.
- Pastel Colors: Consider pale pinks, blues, yellows, and purples, which are perfect for creating watercolor floral designs or simple flower accent nails.
- Bold Colors: If you want something vibrant and eye-catching, consider bold colors like bright oranges, greens, blues, and pinks.
- Neutrals: For a neat and clear base for floral designs, consider neutral colors like beige, gray, and brown.
- Monochromatic: For a cohesive and elegant look, use different shades of the same color, monochromatic colors.
- Contrasting Colors: Try contrasting colors which are opposite each other on the color wheel. Blue and orange, purple and yellow, and red and green are some examples.
- Analogous Colors: Try analogous color combinations, colors that are nearest to each other on the color wheel, like yellow, orange, and red, or blue, green, and yellow.
- Complementary Colors: Go with complementary color combinations. These opposite colors on the color wheel. For example, blue and orange or purple and yellow.
- Metallics: For adding a touch of glam to your floral nail designs, try metallic colors like gold, silver, and bronze.
Given are some samples of different color combinations for floral nail designs. You can try these combinations to create beautiful and unique nail arts.
Flower Nail Designs For Different Occasions
Many floral nail designs are available for weddings, prom, or a night out with friends. Here are some samples for different occasions. These suggestions help you rock your floral nails no matter where you are going.
- Wedding: A simple white base with a soft floral design in pale pink or peach is a perfect choice for a wedding.
- Prom: Consider colors like hot pink, electric blue, or neon green for the base, and create some bold floral designs in contrasting colors like black or white.
- Beach: Try pastel colors like pale blue or mint green for the base, and draw delicate floral designs in shades of white or light pink. You can also try seashell or starfish accents.
- Night Out: Consider dark base colors like black or navy blue, and add floral designs in bright and contrasting colors like hot pink or neon yellow.
- Springtime: Try pastel colors like baby pink or lavender as a base. Now add some whimsical floral designs in shades of yellow or light blue.
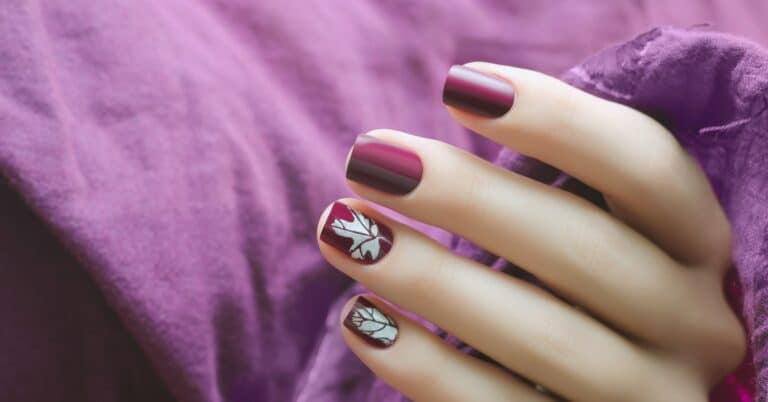
- Holiday: Consider deep red or emerald green for the base. Add some festive floral designs in shades of gold or silver.
- Office: Consider neutral base colors like beige or taupe. Add some delicate floral designs in shades of white or pale pink.
Let Your Nails Smile With Adorable Floral Nail Designs
Flower nail designs are a popular trend in Hollywood and beyond. With simple and complex designs and techniques to choose from, these nail artworks are easy to achieve. Use our tips and experiment with the right colors and combinations to create a look that makes you happy and perfect for any occasion.
FAQs
Q: How can I maintain my flower nail designs?
A: To maintain your flower nail designs, avoid hot water, avoid using your nails as tools, apply a clear top coat every few days, and wear gloves when doing household work.
Q: What occasions are best suited for flower nail designs?
A: Flower nail designs are perfect for weddings, formal occasions, summer parties, and festivals.
References
- How To Make Flower Nail Art: https://www.wikihow.com/Make-Flower-Nail-Art
- How To Create Flower Nail Art Using Just A Dotting Tool: https://www.makeup.com/en-ca/nails/nails-all/how-to-create-flower-nail-art-at-home
- 25 Pretty and Delicate Floral Nail Designs: https://www.byrdie.com/floral-nail-designs-4705517
- 45+ Pretty Flower Nail Designs: https://forcreativejuice.com/pretty-flower-nail-designs/
- 42 Super Pretty Flower Nail Designs To Copy: https://glaminati.com/flower-nail-designs/