DIY Ombre Nails: Tips And Tricks For A Professional Look At Home
Ombre nails have become increasingly popular in recent years. This nail trend, the gradual blending of colors, creates a stunning and twisted look to your fingernails.
Whether you’re a fan of almond nails, butterfly nails, coffin nails, black nails, spring nails, or solar nails, incorporating an Ombre technique can add a fresh, classic, and fashionable touch to your manicure.
This guide provides an overview of the style variations in Ombre nails, which combine both contemporary and traditional elements. Use our tips and tricks to achieve a professional Ombre look using both sponge and dip powder methods, all from the convenience of your own home.
So, grab your nail polish, and let’s begin!
Table Of Contents
- Top Color Combinations For Ombre Nails
- How To Do Ombre Nails At Home?
- Ombre Nail Design Variations: From Classic to Creative
- How To Do Ombre Nails With Dip Powder?
- How To Safely Remove Ombre Nail Polish
- Common Mistakes To Avoid When Doing Ombre Nails At Home
- Ombre Nail: Classic And Creative
Top Color Combinations For Ombre Nails
To create an ombre effect, you’ll need at least two different nail polish colors, a makeup sponge, and a steady hand.
1. The Classic Ombre Look
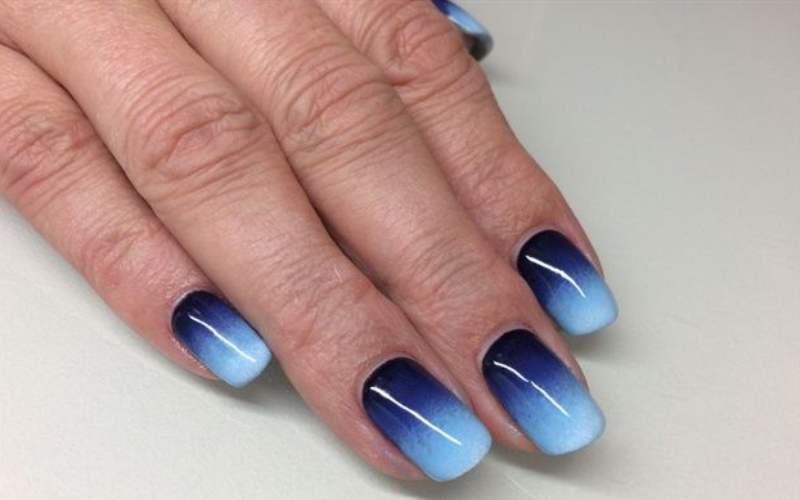
The classic ombre look involves a transition from a light shade to a darker shade. It will be a great starting point if you’re new to ombre nails or want a subtle, understated look. Some popular color combinations for the classic ombre look include:
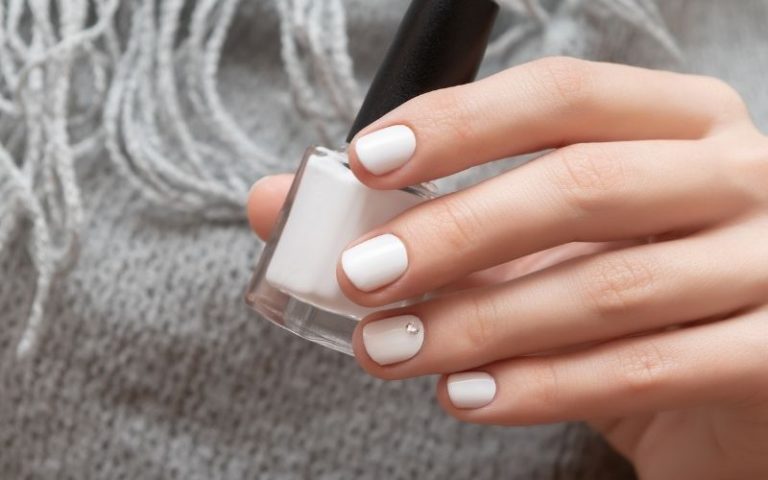
- Pink and white
- Blue and white
- Peach and pink
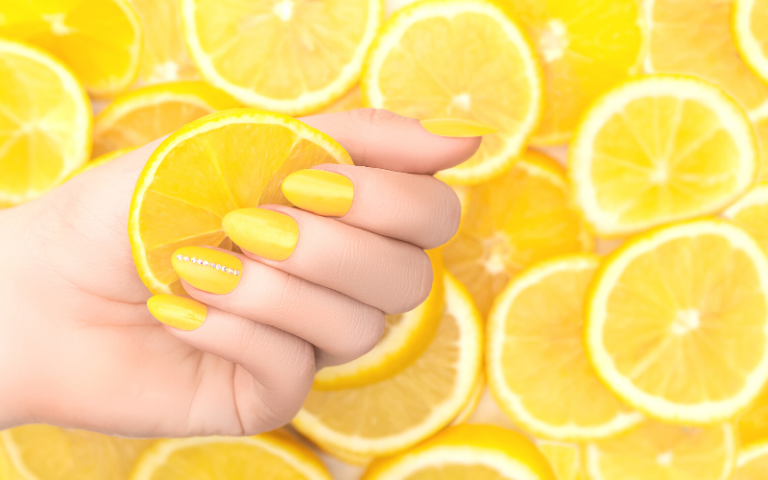
- Yellow and orange
- Green and blue
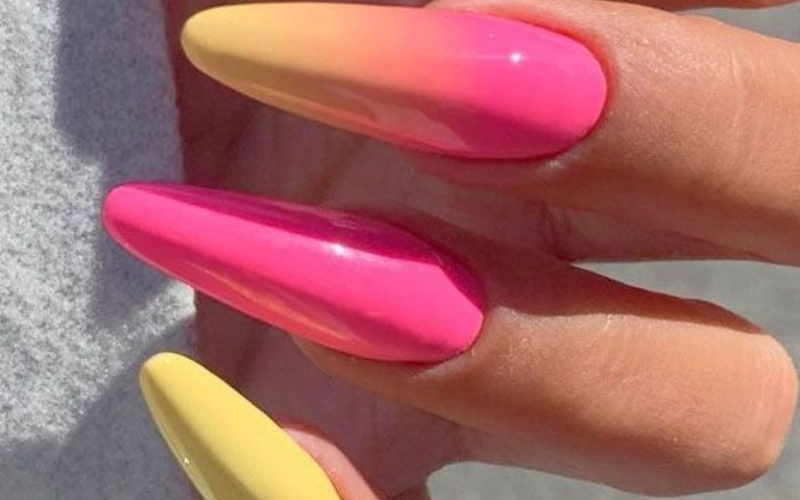
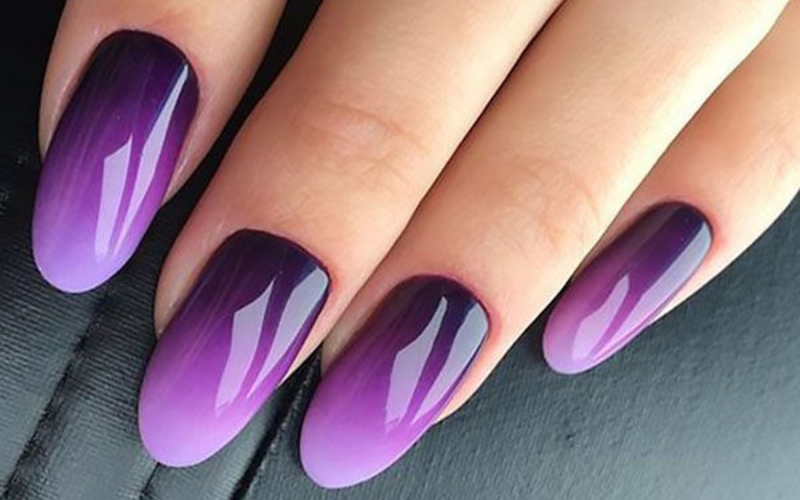
2. Bold and Vibrant Ombre Looks
If you’re feeling bold and want to make a statement, try one of these vibrant ombre color combinations:
- Purple and pink
- Blue and green
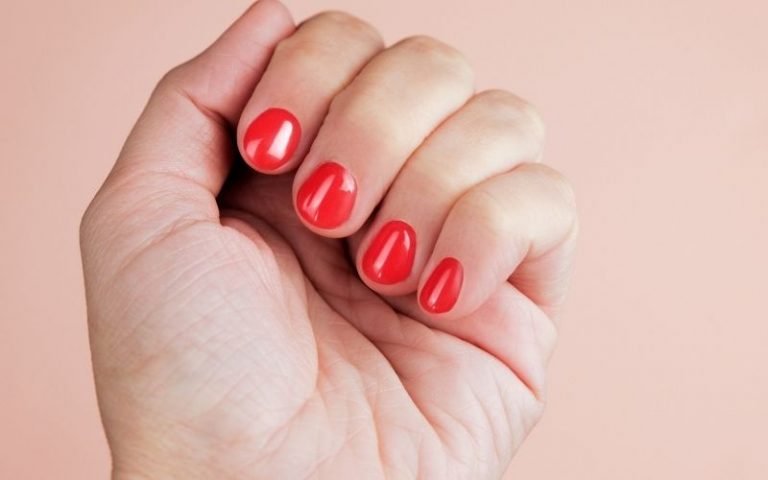
- Red and orange
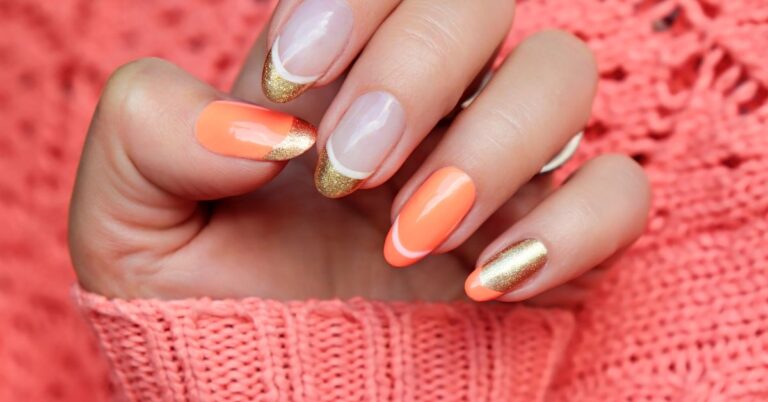
- Pink and orange
- Yellow and green
These bold hues and combinations can be honed for special occasions or if you like adding a burst of color to your outfit.
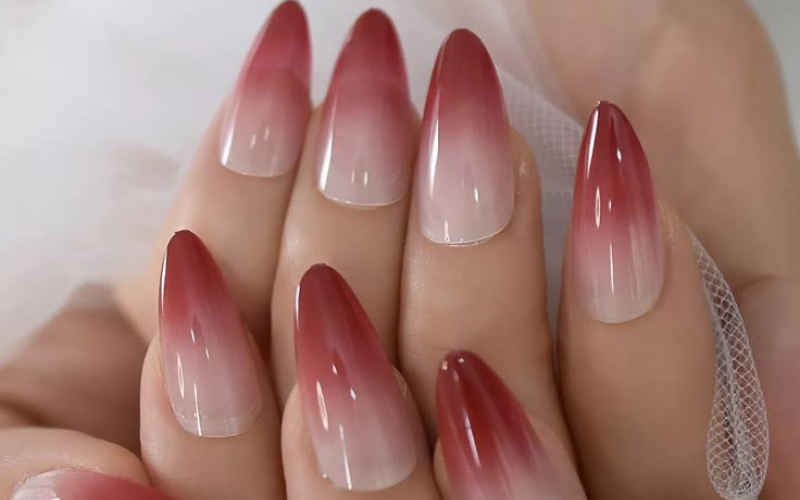
3. Subtle and Sophisticated Ombre Looks
If you prefer a more subtle and sophisticated look, consider trying one of these ombre color combinations:
- Beige and pink
- Nude and white
- Gray and black
- Tan and brown
- Brown and gold
These shades can add a touch of elegance to your look and are also perfect for the workplace.
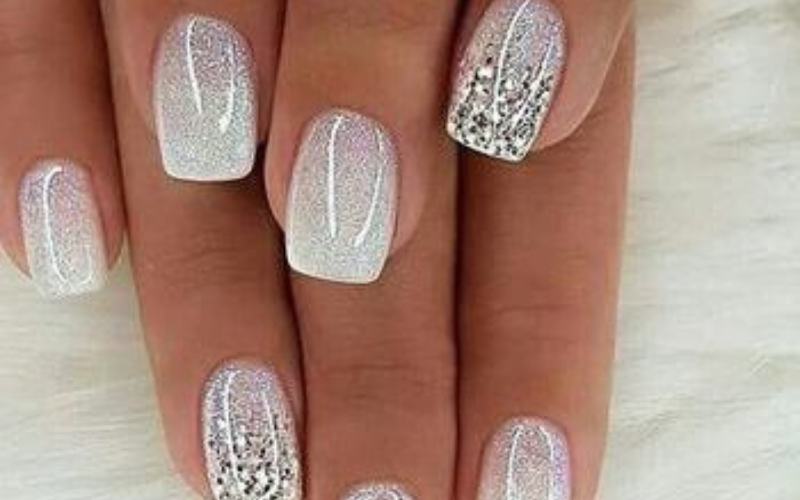
4. Ombre with Glitter
Adding glitter to your ombre nails can take your look to the next level. Here are some color combinations to try:
- Gold and black
- Silver and pink
- Red and gold
- Blue and silver
- Purple and blue
5. Ombre with Metallics
Metallic nail polish is another way to add some shine to your ombre nails. Here are some color combinations to try:
- Copper and gold
- Silver and blue
- Pink and rose gold
- Gold and navy
- Black and bronze
With so many combinations of colors to choose from, the possibilities are endless. Whether you like to have a classic, subtle, bold, glittery, or metallic look, there’s definitely an ombre combination that would perfect fit to express your personal style.
How To Do Ombre Nails At Home?
Ombre nails may appear tricky, and you may take some time to fall on the right track. Keep that thing in mind and keep yourself self-motivated to achieve the desired look.
The initial step before starting this nail creativity work is nail preparation. Prep your nails by filing and buffing them to your desired shape. If you have long shapeless nails, make the correction and bring them to the shape. Use essential mani-pedi tools for this.
Now, clear your nail bed using a nail polish remover. Move your cuticle with a cuticle pusher and remove the excess skin and dirt. Clear oils and dirt particles from the nail bed.
To start this nail technique, apply a base coat on your nails. It protects your nail bed from stains and helps the color adhere better. Choose two or more nail polish colors for more creative ideas and an eye-catching ombre effect. Light and dark color combinations work well for this nail experiment.
After the base coat, apply the lightest color on your nails, leaving a small gap at the bottom.
Now, take a small makeup sponge and apply the dark color to that. Apply it like horizontal lines on the sponge. Now, press this sponge onto the gap you left at the bottom of your nails, creating a blending effect.
Repeat this process with the other colors if you use more than two. Clean the smudges or imperfections from the outer area of your nails with a small brush or nail polish remover. Finally, cover the entire design with a top coat. It seals in the design and adds shine. Let your nails dry completely for some time.
Additional Tip: You can use tape or stencils to get a clean edge for your ombre effect.
Ombre Nail Design Variations: From Classic to Creative
You can try different variations with ombre nails. Classic, gradient, and reverse ombre are some special and innovative cases.
- Classic Ombre Nails
Classic ombre nails feature a gradual transition from one light color to dark color.
- Gradient Ombre Nails
Gradient ombre nails are similar, but the transition is more abrupt, and the colors are more contrasting.
- Reverse Ombre Nails
Reverse ombre nails are the opposite of classic ombre nails, with a transition from dark to light color.
- Creative Ombre Nails
Creative ombre nails include more than two colors with patterns, glitter, and other embellishments.
Overall, ombre nails are a versatile and stylish option for any nail art enthusiast looking to add some flair to their nails.
How To Do Ombre Nails With Dip Powder?
To do ombre nails with dip powder, the essential things you need are dip powder, a base coat, an activator, a top coat, a nail file, and a brush.
- First, do the nail preparation by filing and buffing them.
- Apply a base coat and give it some time to dry.
- Apply the coat for the second time only at the bottom of your nails.
- Now slowly dip your fingers in dip powder at an angle of 45 degrees.
- Take out the fingers and create the ombre effect by blending the color from the tip of the nails to the base. Use a fluffy brush for this.
- Apply the second dip powder color. Use the brush to blend the colors together.
- Apply an activator to seal in color and create a smooth finish.
- Shape and smooth the nails using a nail file.
- Finally, apply a top coat to add shine.
Clean up the excess powder around the nails with a brush or cotton ball dipped in acetone.
How To Safely Remove Ombre Nail Polish
While ombre nails look great, the thought of removing them can be daunting. The lacquer used for ombre nails are generally thicker than regular nail polish, thus making it harder to remove.
Fret not! There are some easy ways to safely remove ombre nail polish without damaging your nails.
Option 1: Soak-Off Method
The most common technique for removing ombre nail polish is the soak-off method. Here’s how:
- Make use of a nail file to remove the shiny finish from your nails. Doing so will make it easier for the acetone to penetrate through the polish.
- Fill a small bowl with acetone.
- Place your nails in the acetone and soak them for 10-15 minutes.
- After 10-15 minutes, remove your nails from the acetone and gently scrape off the polish with a wooden stick or cuticle pusher. Begin at the base of your nail and work your way up to the tip.
- If there’s still polish remaining, repeat steps 3 and 4 until all the polish is removed.
- Wash your hands thoroughly with soap and water to remove any remaining acetone.
Option 2: Foil Method
The foil method is another popular way to remove ombre nail polish. Here’s how:
- File the top layer of your nails to remove the shiny topcoat.
- Take a small piece of cotton pad and saturate it with acetone.
- Place the saturated cotton pad on your nail and wrap your nail in aluminum foil. Ensure the foil is tight around your finger to keep the cotton pad in place.
- Repeat this process on all your nails.
- Wait 10-15 minutes to let the acetone penetrate the polish.
- After about 10-15 minutes, remove the foil and cotton pad from your nails and gently scrape off the polish with a wooden stick or cuticle pusher. Begin at the base of your nail and work your way up to the tip.
- If there’s still polish remaining, repeat steps 3 to 6 until all the polish is removed.
- Wash your hands thoroughly with soap and water to remove any remaining acetone.
Option 3: Peel-Off Base Coat
A peel-off base coat is another safe and easy way to remove ombre nail polish. Here’s how:
- Apply a peel-off base coat to your nails before you apply your ombre polish.
- Apply your ombre nail polish as usual.
- When it’s time to remove your nail polish, utilize a cuticle pusher or a wooden stick to gently lift the edge of your polish and peel it off. You can also use your fingernails to peel off the polish if it’s lifting easily.
- Wash your hands thoroughly with soap and water to remove any remaining base coat.
Removing ombre nail polish can be a bit tricky, but with these safe and easy methods, you can have your nails looking great in no time. Remember to always be gentle when removing your polish and to wash your hands thoroughly afterward to remove any remaining acetone or base coat.
Common Mistakes To Avoid When Doing Ombre Nails At Home
While ombre nails can look amazing, they can also be difficult to achieve if you’re doing them at home. Avoiding these common mistakes can help you achieve a beautiful ombre look at home.
Mistake 1: Using the Wrong Tools
Using the wrong tools can make it difficult to achieve a smooth ombre transition. To create the perfect ombre nails, you’ll need the following:
- A makeup sponge
- Nail polish in two or more colors
- Base coat and top coat
- A small brush for cleanup
Using a regular sponge or the wrong type of brush can make it difficult to blend the colors together and create a seamless transition.
Mistake 2: Not Preparing Your Nails Properly
To achieve a seamless ombre transition, good nail preparation is necessary. Here’s what you need to do:
- To begin with, remove any old nail polish and shape your nails as desired.
- Use a base coat to safeguard your nails and make the polish adhere better.
- As your base color, apply a white or light-colored polish. The ombre colors will become more noticeable as a result.
- Let your base color dry completely before moving on to the next step.
Mistake 3: Using Too Much Polish
Using too much polish can make it difficult to mix the colors together and create a smooth transition. To avoid this mistake, apply a thin layer of each color and build up the intensity gradually.
Mistake 4: Not Blending the Colors Properly
Blending the colors properly is key to achieving a beautiful ombre look. Here’s how to do it:
- Apply your first color to the makeup sponge and dab it onto your nail.
- Repeat with the second color, overlapping the first color slightly.
- Use a clean section of the sponge to blend the colors together.
- Repeat this process until you’ve achieved the desired ombre effect.
Mistake 5: Skipping the Cleanup
Cleanup is an important step in achieving a perfect ombre look. Use a small brush dipped in acetone to clean up any mistakes or excess polish around your nails.
Mistake 6: Not Allowing the Polish to Dry Completely
Allowing your polish to dry completely between coats is important to achieving a smooth ombre transition. Rushing this step can result in smudging or smearing.
Remember to use the right tools, prepare your nails properly, use thin layers of polish, blend the colors together, clean up any mistakes, and allow the polish to dry completely. With a little practice, you can create stunning ombre nails that will turn heads.
Ombre Nail: Classic And Creative
When trying DIY ombre nails at home, your finger and nails need to be clean and dry. Add beauty to this creative nail trend by playing with colors like orange, blue, and green and combining modern and traditional techniques.
FAQs
Q: Can you try ombre techniques on short nails?
A: Yes, it is possible to try the ombre technique on short nails. For perfect results, adjust the technique slightly, such as using a smaller brush or sponge. Other procedures will be the same.
Q: Can you do ombre nails with gel polish?
A: Yes, gel polish is a great option for ombre nails. The results will be long-lasting, and the curation process under UV light gives you a smooth and glossy finish.
Q: How do I create an ombre effect on my nails?
A: To create an ombre effect, you’ll need at least two different nail polish colors, a makeup sponge, and a steady hand. Apply a base coat, then paint one color on the makeup sponge and dab it onto your nails. Repeat with the second color, slightly overlapping the first color. Blend the colors together using the sponge, and finish with a top coat.
Q: Can I use more than two colors for ombre nails?
A: Yes, you can use as many colors as you like for ombre nails.
References
- Ombre Nails: 10 Easy-To-Copy Designs You Can Do At Home: https://www.stylist.co.uk/beauty/ombre-nails-designs-ideas/386863
- How To DIY Ombré Nails At Home With Dip Powder, Polish, Or Acrylic: https://www.byrdie.com/how-to-do-ombre-nails-4775434
- How To Do Ombre Nails: https://www.wikihow.com/Do-Ombre-Nails
- How To Do Ombre Nails Like A Pro: Tutorial With Pictures: https://www.stylecraze.com/articles/amazing-ombre-nail-art-tutorial-with-detailed-steps-pictures/
- How To Do DIY Ombre Nails: https://bellatory.com/makeup/DIY-Ombre-Nails