Celebrate Your Big Day With These 10 Birthday Nail Ideas
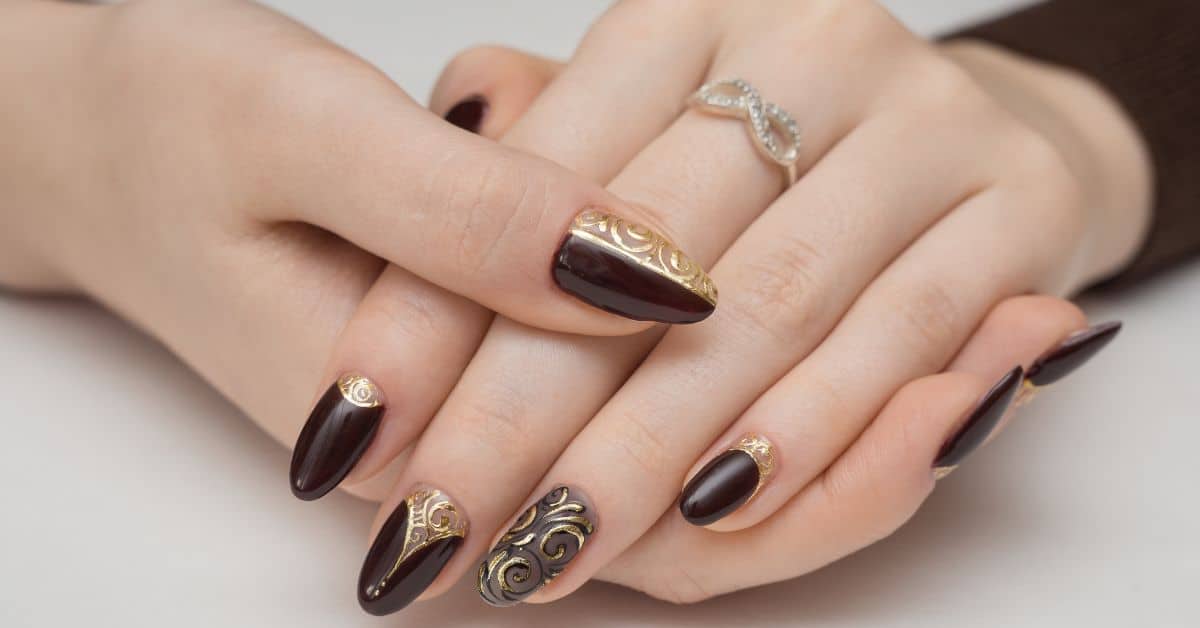
When preparing for a special birthday, we often take extra care to ensure that every detail is perfect. Whether it is planning a fun-filled party, selecting the perfect gift, or choosing a stunning outfit, we put our hearts into making our day as special as possible.
And what about a beautiful manicure on this special day? Yes, a perfect manicure is an essential part of birthday preparations. Adorable birthday nail ideas are the perfect way to add a touch of creativity and sparkle to your day!
Come!!! Let’s make your birthday extra special this year with these attractive nail designs.
Table Of Contents
10 Color Options For Stunning Birthday Nails
When it comes to birthday nail ideas, the color options are endless! You have options from vibrant and daring shades to delicate and subtle hues.
- Bright red can give you a classy look on your special day.
- Purple is suitable for those who want to add a hint of luxury to their look.
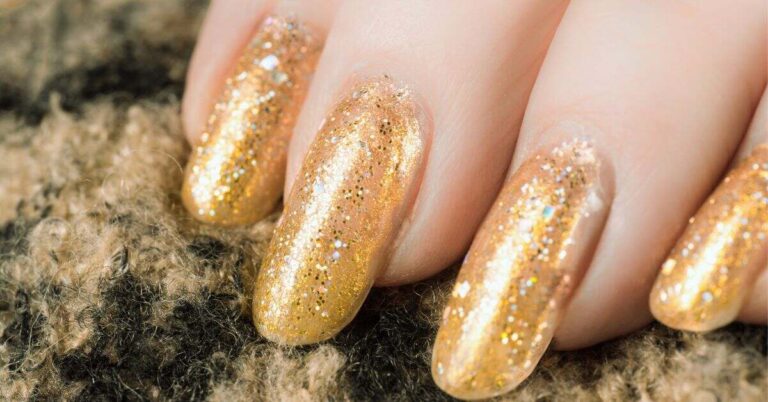
- Glitter gold, the ultimate celebratory color, can give your birthday nails extra shine and sparkle.
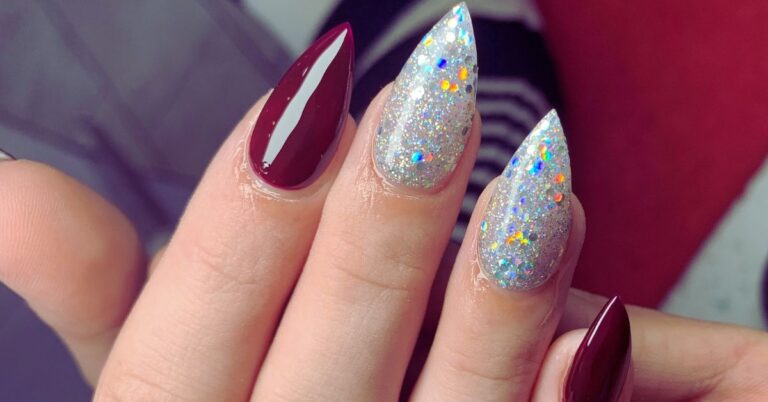
- Metallic silver is ideal for those who want to give their birthday nails an edgy look.
- Classic black keeps your birthday nails understated but stylish.
- Bring a pop of warmth to your summer birthday with coral hues.
- Go for a beachy vibe on your special day with turquoise tones.
- Make a statement with your birthday nails by choosing a bold navy-blue shade.
- Neon green is also an ideal color for summer birthdays.
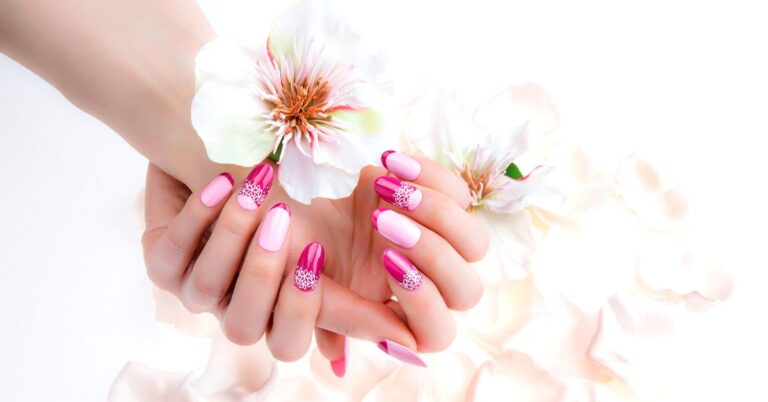
- Pastel pink is a good choice for people who prefer a more understated appearance.
Choosing the right color for your birthday nails depends on your personal preferences and the theme of your party. With the right color, your birthday nails can make a statement and elevate your entire birthday look.
Creative Birthday Nail Ideas
Now, let’s take a look at some unique and fashionable nail designs with easy-to-follow steps. This guide will help you make your special day even more unforgettable. Choose any of these designs from the list and give your nails a stunning makeover.
1. Rainbow French Tips
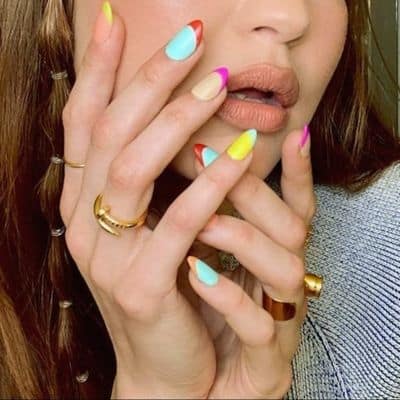
Try Gigi Hadid’s simple nail design done by Mei Kawajiri for your next special day. In this cool design, each tip is in a different shade; every single finger is different.
To create this almond-shaped nail design with different pastel colors and tips, you will need
- Nail file
- Cuticle pusher
- Nail glue
- Base coat nail polish
- Different pastel-colored nail polishes
- Striping tape
- Top coat nail polish
Instructions:
First, prepare your nails by shaping them into an almond shape using the nail file and pushing back the cuticles. Apply a layer of base coat, and then paint all your nails with different pastel-colored nail polish.
Use striping tape to paint the tip of each nail with a different pastel-colored polish. Remove the tape and repeat until all nails are complete. Finish with a top coat for a shiny, long-lasting finish.
2. Long Milky Nails With Stripes
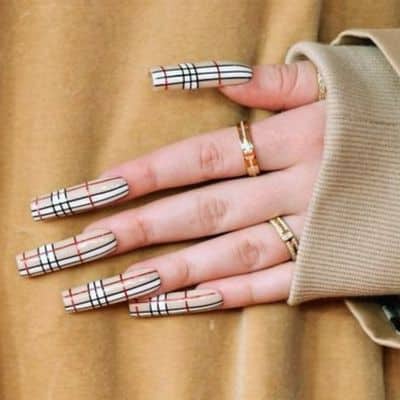
Take inspiration from Billie Eilish’s stunning long nails, coated in milky white with black stripes. This gorgeous design is perfect for those looking for January birthday nail designs. The frosty shade of white represents the snowy and moody climate of the month.
To create this nail design, you need
- Base coat
- White nail polish
- Black nail polish
- Thin nail art brush
- Top coat
Instructions:
Start with a base coat. Then, paint each nail with the milky white nail polish, and let it dry completely. Using a thin nail art brush, create unique patterns of black stripes on each nail. Let the stripes dry, and finally, apply a top coat.
3. 21st Birthday Nail Design
To create this nail design, you will need the following materials.
- Baby pink nail polish
- Different nail colors for colorful polka dots
- Glitter nail polish
- Black nail polish
- Rose gold nail polish
- Silver nail polish
- Thin nail art brush
- Top coat
Instructions:
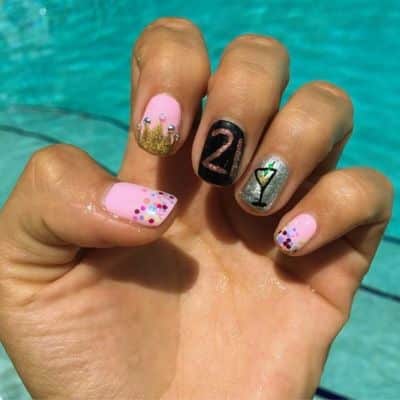
Start by painting three nails with baby pink nail polish. For two of the pink nails, use the thin nail art brush or toothpick to create colorful polka dots. On the remaining pink nail, create a crown design with glitter nail polish.
On one finger, apply black nail paint. Write the number “21” on that nail using rose gold nail color. On the other finger, apply a coat of silver nail polish and draw a glass image with black nail color. Finally, complete this glamorous 21st birthday nail design with a top coat.
4. 30th Birthday Nail Design
To recreate this nail art, you need
- Glittery silver nail polish
- Baby pink nail polish
- Black nail polish
- Pink rhinestones
- White nail polish
- Small nail art brush
- Toothpicks
- Top coat
Instructions:
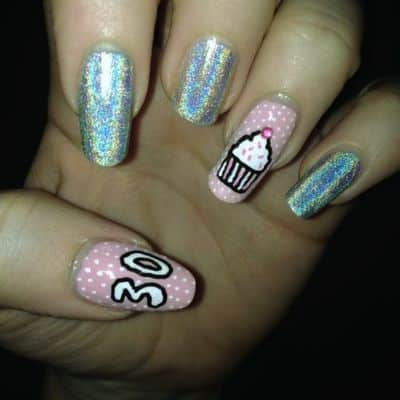
Paint three nails with glittery silver nail polish and apply baby pink nail polish to the other two nails.
On one pink nail, draw a cupcake pattern using a small nail art brush. Add details with black nail polish. For an extra touch of glam, add a pink rhinestone to the design. Cover the remaining area of the nail with white polka dots.
On the other pink nail, first, create small polka dots using toothpicks. Then, write the number “30” in white and add an outline with black color. Once you have completed the design, finish with a top coat.
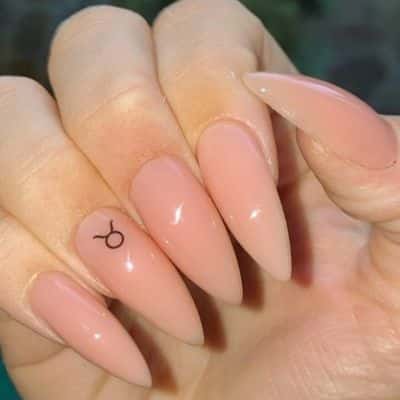
5. Taurus Birthday Nail Art
To create this stylish and unique nail design, you need
- Creamy peach gel nail color
- Black nail polish
- Stencil
- Nail art brush
Instructions:
After the base coat application, paint all your nails with creamy peach gel nail color and let them dry completely. Now, draw the Taurus zodiac symbol in black on the ring fingernail. Use a nail art brush or stencil to do this.
Once the design is complete, finish with a top coat to protect the nails and add a glossy shine.
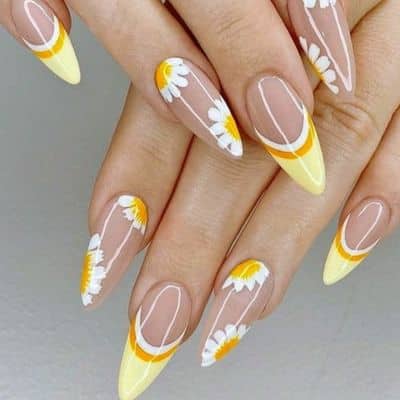
6. Summer Birthday Nails
To try this nail design, you need
- Base coat
- Nude-colored nail polish
- Yellow nail polish
- White nail polish
- Pale-yellow nail polish
- Mustard yellow nail polish
- Fine nail art brush
- Dotting tool
- Glossy top coat
Instructions:
First, apply a base coat. Then apply two coats of nude-colored nail polish. Once the polish has dried, draw the pattern of white sunflowers with yellow centers on each nail. Use a fine nail art brush and a dotting tool to do this.
Next, draw the French tips on each nail using the nail art brush and pale yellow and mustard yellow nail colors. Wait for the design to dry completely, and then apply a glossy topcoat.
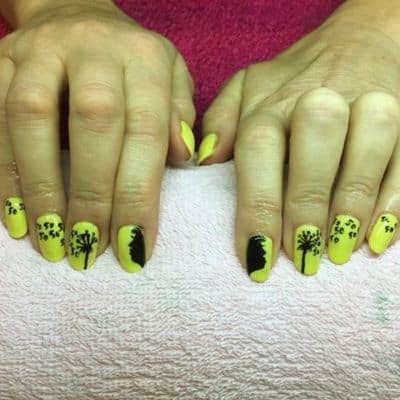
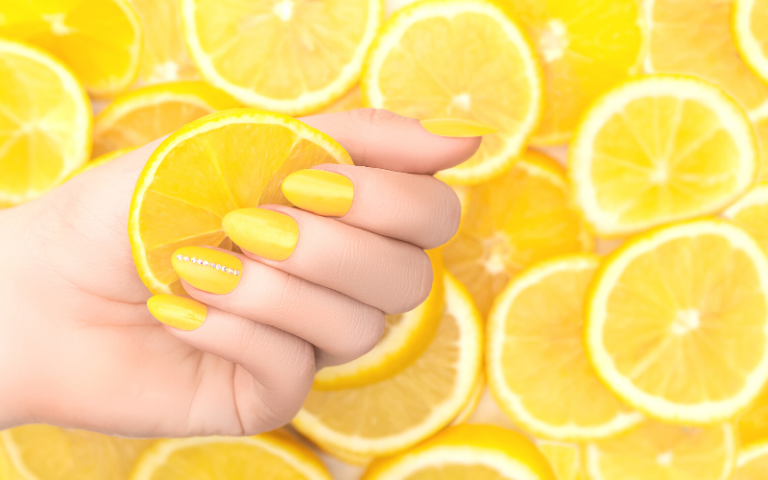
7. 50th Birthday Nail Design
To create this lemon-yellow nail design, you will need
- Base coat
- Lemon yellow nail polish
- Black nail polish
- Small nail art brush
Instructions:
After the base coat, apply two coats of lemon-yellow nail polish and wait for it to dry completely. Next, use a small nail brush and black nail color to write the number “50” on one or two nails, depending on your preference.
Also, create different black patterns on the remaining nails, such as stripes, polka dots, or zig zags. Allow the design to dry, and then apply a topcoat.
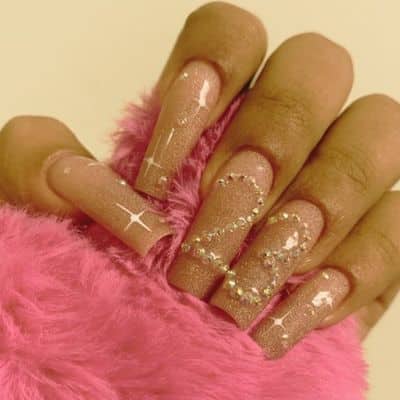
8. Coffin Birthday Nail Look
To create this 23rd-birthday nail design, you need
- Base coat
- Rose gold glitter nail polish
- Top coat
- Rhinestones
- Number stencils
- Small nail art brush
Instructions:
After the base coat, apply two coats of rose gold glitter nail polish to your coffin-shaped nails and allow them to dry completely. Then, create the number “2” with rhinestones on one nail and the number “3” with rhinestones on another nail.
Then, apply rhinestones to the remaining nails in a pattern of your choice. Once the design has dried completely, apply a topcoat to seal the rhinestones and give your nails a shiny finish.
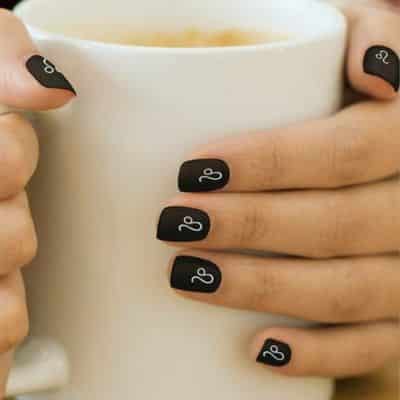
9. Leo Birthday Manicure
To create this easy birthday nail design, you need
- Base coat
- Black matte nail polish
- Small nail art brush
- Gold nail polish
- Leo zodiac stencil
Instructions:
Start with a base coat. Next, apply two coats of black matte nail polish to your short square nails and allow them to dry completely. Then, using a Leo zodiac stencil and a small nail art brush, create the Leo zodiac pattern on each nail.
You can also use gold nail polish to create small accents on the zodiac pattern or draw the Leo constellation on one nail. Once the design has dried completely, apply a top coat to seal the design.
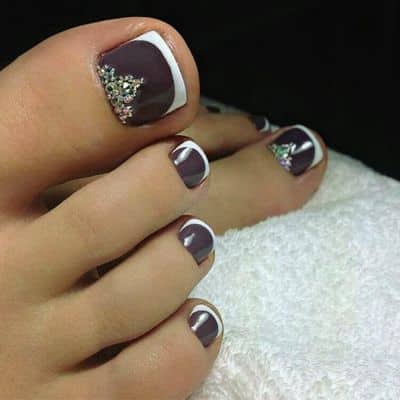
10. Simple Birthday Toenail Design
To try this simple toenail art, you need
- Base coat
- Glossy black nail polish
- White nail polish
- White stones
- Small nail art brush
Instructions:
First, apply a base coat. Next, apply two coats of glossy black nail polish to your toenails, and let them dry completely. Then, using white nail polish, nail tape, and a small nail art brush, create white French tips on each toenail.
Draw a small crown pattern on your big toenail using a small nail art brush, and then attach white stones to that design. Once the design has dried completely, apply a topcoat.
Feel Like A Princess
With the 10 color options and creative birthday nail ideas provided, you can create stunning nails that reflect your personal preferences and the theme of your party. From rainbow French tips to 30th birthday nail designs, you can shine like a star at your birthday party.
FAQs
Q: What are some fun birthday nail ideas for kids?
A: For kids, you can try fun birthday nail designs like colorful stripes or polka dots, cartoon characters, or animal prints. Glitter or sparkles are also a popular addition to kids’ birthday nails
Q: What should I consider when choosing a nail color for my birthday?
A: When choosing a nail color for your birthday, consider the theme of your party or event, the colors of your outfit, and your personal style preferences.
References
- 55+ Gorgeous Birthday Nails To Do For Your Big Day: https://chasingdaisiesblog.com/birthday-nails-ideas/
- 41 Super Cute Birthday Nails You Have To Try: https://stayglam.com/beauty/birthday-nails/
- 50+ Fun Birthday Nails To Try This Year!: https://pradaandpearls.com/50-fun-birthday-nails-to-try-this-year/
- My Birthday Is Coming Up, So I Asked Celebrity Nail Artists For Design Ideas: https://www.whowhatwear.com/birthday-nail-design-ideas
- 100+ Birthday Nails Ideas For 2023: https://nerdabouttown.com/birthday-nails/
