10 Simple St. Patrick’s Day Nail Ideas To Rock This Special Day
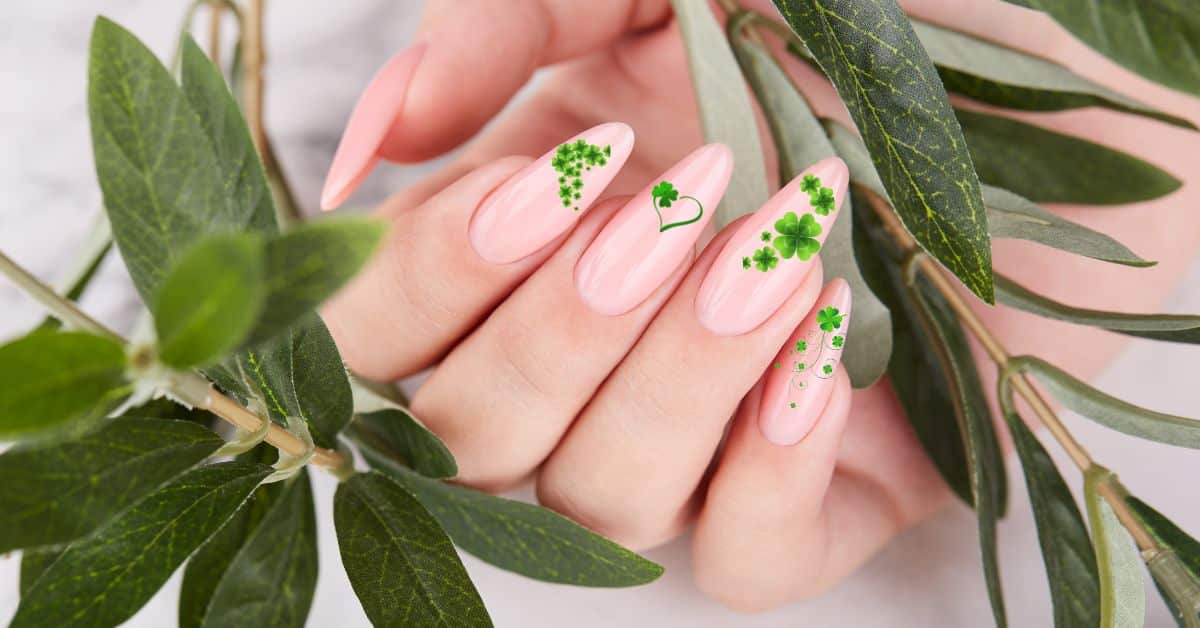
Are you feeling lucky? March 17, St. Patrick’s Day is the best time of the year to embrace the luck of the Irish. If you are looking for a different and creative way to show your holiday spirit, simple St. Patrick’s Day nail ideas are the best way.
Why nail art, you ask? Well, if it is winter, summer, spring, or a simple picnic, nail designs are the perfect idea to show your creativity and add a few attractive factors to your day and look. Plus, there is nothing like a festive manicure to get you in the holiday spirit.
Whether you are a pro in nail art or a beginner, these designs are easy to follow and will add the perfect touch of green and gold to your look.
So grab your nail polish now and get ready to sham-rock this St. Patrick’s Day!
Table Of Contents
How To Choose The Best Nail Colors For St. Patrick’s Day?
For your St. Patrick’s Day nail designs, pick traditional hues like green, gold, and white because they have a strong connection with this celebration.
But, it might be a difficult task to select the ideal shade of green and other colors. Here the important thing is, you should choose the color which suits your skin tone and your preferences.
- For fair skin – pick a lighter shade of green or gold.
- For a medium skin tone – go for vibrant shades like emerald or mustard yellow.
- For darker skin tones – choose deep green or rich gold.
Try complementary colors for more playful designs.
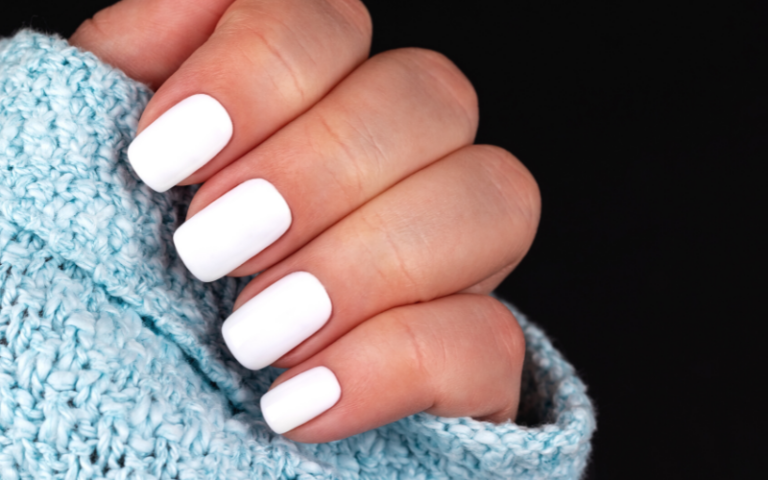
- Pair green and gold nails with white or creamy beige for a traditional look.
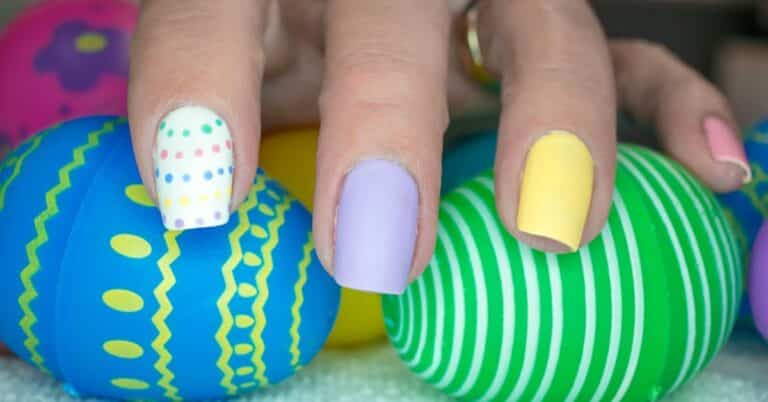
- Incorporate a soft pink or lavender to mix things up.
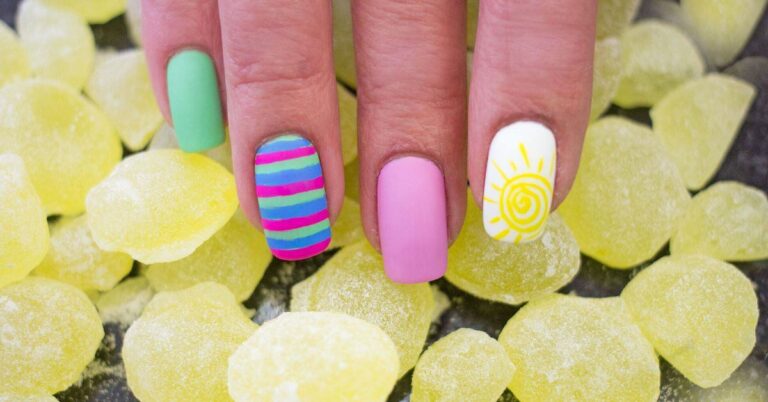
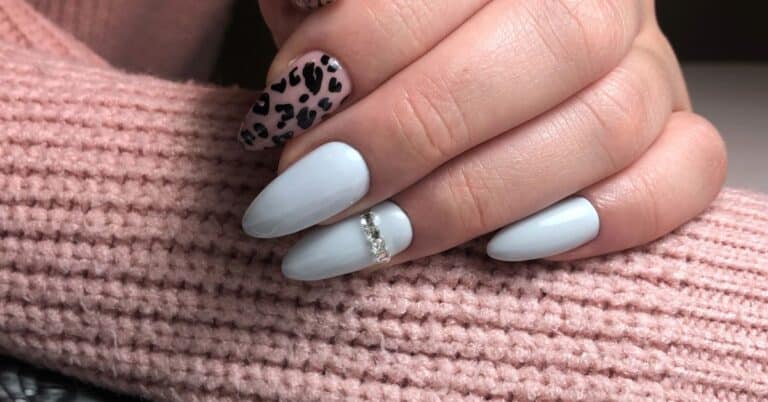
You can also experiment with different things like matte shades, metallic shades, glitter, and rhinestones to make your St. Patrick’s Day nails truly stand out.
Choosing the right shades of green and gold, complementing them with the perfect colors, and experimenting with different finishes and textures is the finest way to create unique St. Patrick’s Day nail art.
Simple St. Patrick’s Day Nail Designs
So, are you ready to add a festive flair to your nails this St. Patrick’s Day? To help you get started, here we have compiled an easy-to-follow nail art tutorial that is perfect for any skill level.
Follow these simple step-by-step instructions to achieve a polished, professional look with less effort.
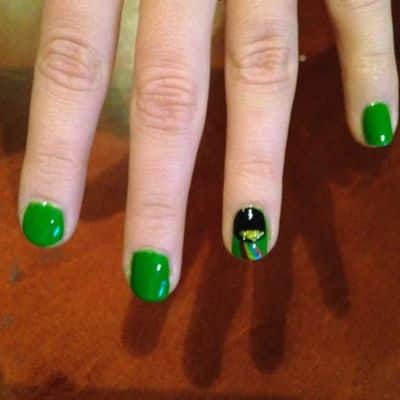
1. Pot Of Gold Nail Art
Start by painting your nails a deep green color. Once the green polish has dried, use a small brush to paint a pot at the base of each nail with black polish. Use a gold polish to add a small pile of coins to each pot once it has been finished.
Apply a top coat for a glossy, long-lasting finish to complete the look.
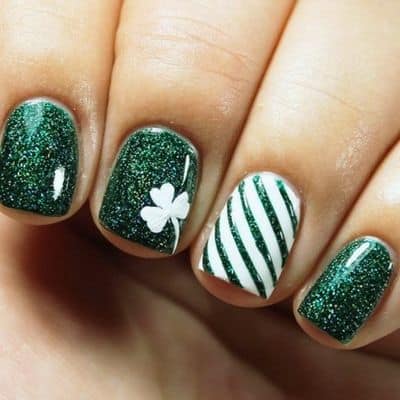
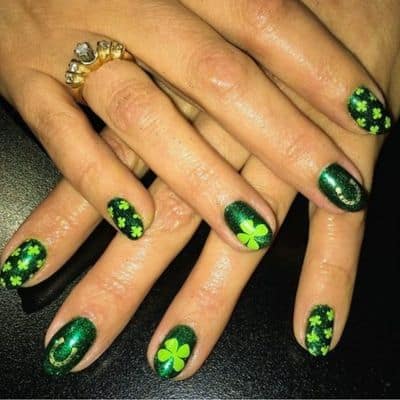
2. Shamrock Nail Art
Paint your nails with a festive shade of glittery green and draw a shamrock pattern on one nail to bring luck into the season. Draw clear and accurate lines using a thin nail art brush and white nail polish on one nail. Once finished, apply a top coat to give your design a glossy, smooth finish.
3. Rainbow Nail Art
Start with a base coat of white to create a stunning rainbow on your nails. Next, paint a vivid rainbow on each nail, starting with red at the base and moving up to purple, using a thin nail art brush.
Try drawing the lines with a toothpick or a tiny brush for a neat and precise design. Finish with a top coat to give your nails a glossy finish.

4. Leprechaun Hat Nail Art
Start by painting your nails a rich shade of green, then allow them to dry completely. Next, apply a thin black band around the base of each nail with a small brush. Next, paint a rectangle at the top of your nail with gold polish, revealing the thin black band.

In the middle of the gold rectangle, add a buckle with a toothpick or tiny brush. Apply a topcoat last for a glossy, long-lasting finish.
5. Clover Accent Nail
First, apply a bright, light green nail polish to your nails. Pick a white shade for your accent nail and apply the color evenly. Then, on the accent nail, draw a green clover with a tiny brush. For a smooth and glossy finish, let the design completely dry before adding a top coat.
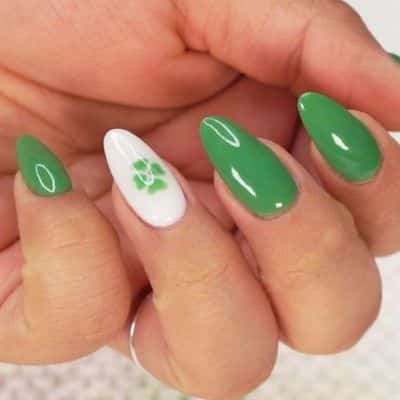
Use a contrasting shade for your accent nail to really make your design stand out. Using this advice, you can create a striking design that is appropriate for any occasion.
6. Celtic Knots Nails
To create a stunning Celtic knot design on your nails, start by applying a base coat of green polish and letting it dry completely. Then, use a small brush or toothpick to carefully paint interlocking knots in white polish or silver color nail polish.
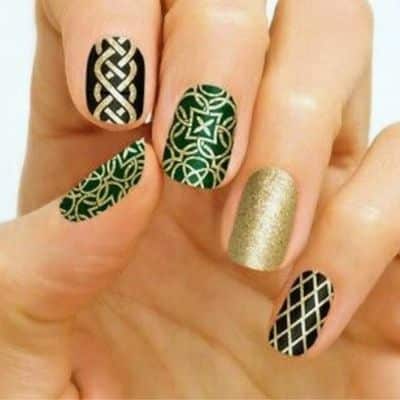
Once the white polish is dry, use a fine-tipped brush to trace over the knots with gold polish to add intricate details. Finally, apply a topcoat to protect the design and add a glossy finish.
Tip: Take your time and work slowly to create precise lines and achieve a polished look.
7. Glitter Tips
Start by applying a base coat of nude polish to your nails and let them dry completely. Next, paint the tips of your nails again with a clear polish and sprinkle green glitter on top, making sure to tap off any excess glitter.

Allow the polish to dry completely before finishing with a topcoat to seal in the glitter and ensure a long-lasting, glossy finish.
Tip: Apply the glitter over a clear base coat to make it easier to remove later on.
8. Rhinestone Shamrocks
Begin by applying a base coat of clear polish to your nails and wait for them to dry completely. Next, use a thin brush or toothpick to create a shamrock shape on each nail using green polish. You can also use stickers here.
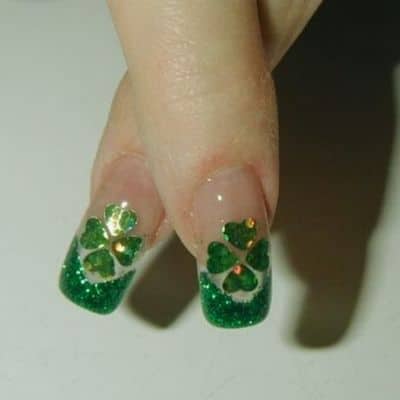
While the polish is still wet, add some sparkle by carefully placing small green or gold rhinestones around the outline of the shamrock with tweezers. As the final step, apply a top coat to seal in the rhinestones and to provide a glossy and long-lasting finish.
9. Gold Foil Accents
Start with a base coat of bright green polish and let it dry completely before adding any additional layers to your manicure. Cut small pieces of gold foil, and then randomly press them on the nail.
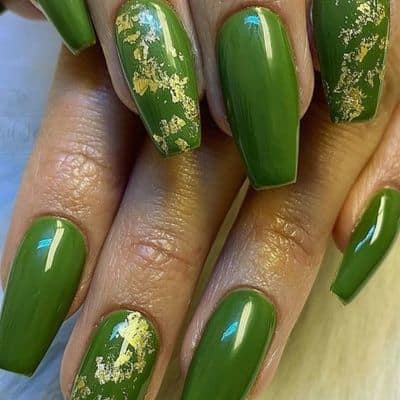
For a flawless finish, press the foil into the polish and smooth out any wrinkles using a brush or toothpick. To protect the foil and give your nails a shiny, long-lasting appearance, add a top coat last.
10. Clover Cutouts
Apply a base coat of green polish first, and then wait for it to dry completely. Next, add a few tiny gold dots all over your nails with a toothpick or a small brush. After the base coat has dried, use a tiny brush and light green nail polish to carefully add clover patterns to each nail. For a polished and glossy finish, add a top coat last.
Be patient and take your time to make elaborate designs that stand out.
Tips for applying and removing embellishments without harming your nails:
- To apply stones or decoration works to your nails, use a soft adhesive like double-sided tape or clear nail glue.
- Make sure to apply pressure to the embellishment’s edges to keep them firmly in place.
- Use a mild nail polish remover and soak the nail for a few minutes to soften the adhesive before removing stones or glitters.
- Avoid pulling or squeezing off decorations because doing so could harm the nail’s surface.
Now it is time to put these tips into action and have fun celebrating St. Patrick’s Day with festive and stylish nails. Don’t be afraid to get creative and try out different techniques to make this lucky day more special.
FAQs
Q: Can I wear St. Patrick’s Day nail art if I don’t celebrate the holiday?
A: Of course! Nail art is a fun way to express your personality and style, regardless of the occasion. Plus, the green and gold color scheme can be worn any time of year.
Q: What if I mess up my St. Patrick’s Day nail art?
A: Don’t worry! Nail polish is easy to remove, and you can always start over. Alternatively, you can turn your mistake into part of the design or cover it up with an embellishment.
Q: Can I mix and match different St. Patrick’s Day nail art designs?
A: Absolutely! Part of the fun of nail art is experimenting with different designs and techniques. Try combining different patterns or adding embellishments to make your nails truly unique.
References
- 22 Festive St. Patrick’s Day Nail Designs That Will Give You Some Extra Luck: https://www.goodhousekeeping.com/beauty/nails/g26310821/st-patricks-day-nail-designs/
- 30 St. Patrick’s Day Nail Ideas That Aren’t Corny AF: https://www.cosmopolitan.com/style-beauty/beauty/g31196451/st-patricks-day-nails/
- 17+ St. Patrick’s Day Nail Art Designs: https://todayscreativeideas.com/st-patricks-day-nail-art-designs/
- 43 Super Fun St Patrick’s Day Nail Art Ideas: https://glaminati.com/fun-st-patricks-day-nail-art-ideas/