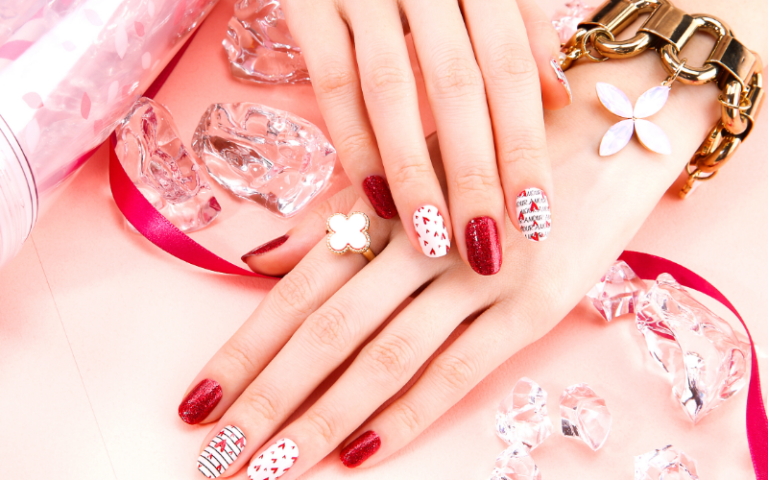
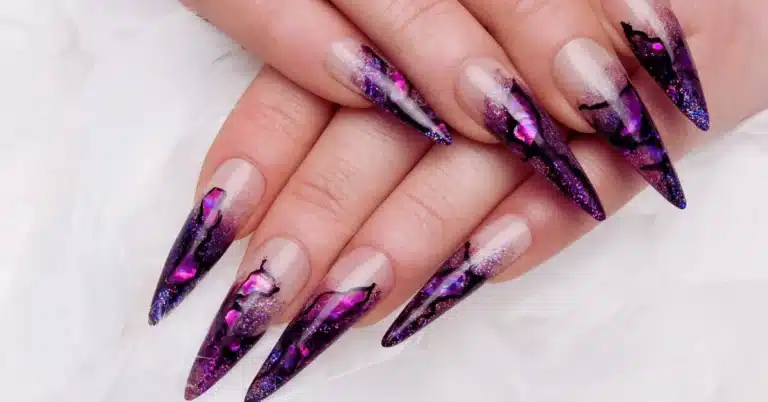
Get A Flawless Finish With Shellac Nails: Tips For A Perfect Manicure
It is time to get to know about the latest and greatest in manicure technology – Shellac nails!
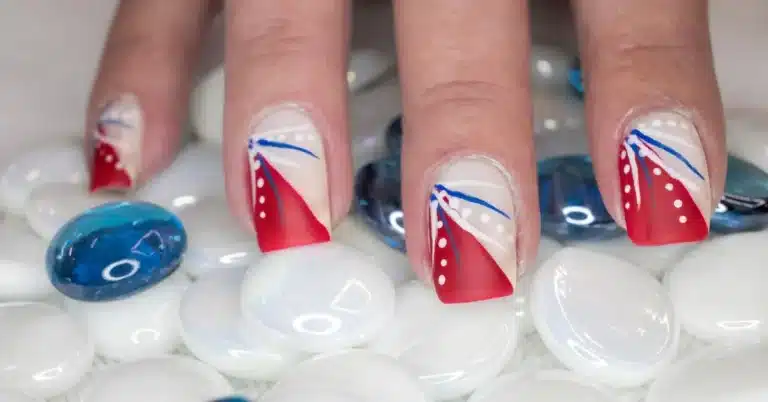
Are you tired of spending all your hard-earned cash on a manicure that only lasts a couple of days? No more constantly touching up your nails or checking for chips. With shellac, you can finally enjoy your mani without any worries. And the best part? You can rock any color, nail art, or nail design, from classic nudes to neon brights.
This manicure is far better than gel nails, and the nail removal process is simply easy. Well, it’s time to upgrade to the big leagues with shellac nails! Get ready to elevate your nail game!
Table Of Contents
- What Are Shellac Nails?
- How Long Does Shellac Last?
- What Is The Difference Between Gel Nails And Shellac?
- Shellac Manicure Procedure
- How To Remove Shellac Nails At Home?
- A Long-Lasting Manicure
What Are Shellac Nails?
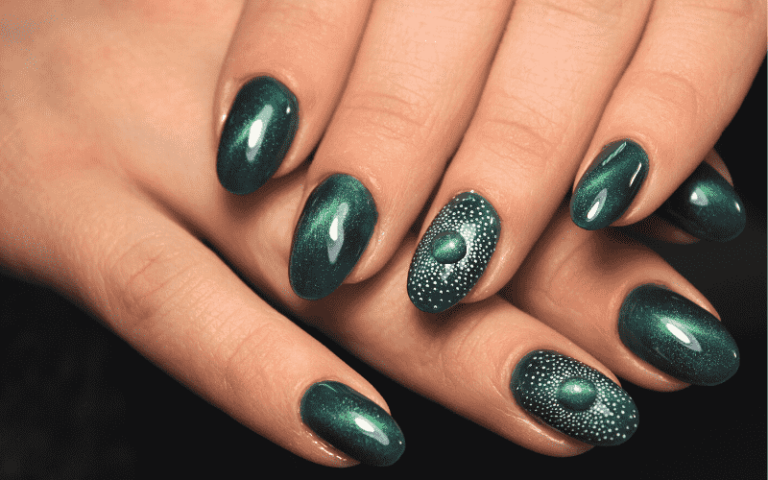
Shellac nails refer to a type of manicure where a hybrid polish, made of a mixture of resin and alcohol, is applied to the nails as a basecoat, color and topcoat. It dries quickly under UV lamps and provides a glossy, long-lasting finish that can last for up to two weeks without chipping or peeling. It is often used as an alternative to traditional nail polish and gel manicures.
Shellac nail combines the best of both worlds – the glossy finish of a traditional polish and the durability of gel nails. It gives you a rock-solid, chip-resistant manicure that can last up to two weeks.
Why Do People Love Shellac Nails?
Shellac nails are a game-changer for those who don’t have time for constant nail touch-ups. Imagine being able to have perfectly polished nails for a long duration without worrying about chipping, peeling, or fading. That’s the power of shellac.
Do Shellac Nails Ruin Your Nails?
No. The major perk of shellac nails is that they are super gentle on your nails, unlike traditional gel nails, which can weaken and damage your natural nails. And you can do the removal with ease using acetone-soaked cotton balls or a shellac-specific remover.
How Long Does Shellac Last?
Shellac nails are designed to last a full two weeks without chipping, peeling, or fading.
With proper maintenance, your shellac manicure may last even a little longer.
Tips for Maintaining Shellac Nails
To keep your shellac nails looking their best, it’s important to follow a few simple tips. Here are some of the most important:
- Avoid soaking your nails in water for the first 24 hours after nail application.
- Avoid using acetone-based products on your nails, as this can strip away the shellac nail polish.
- Use a gentle, moisturizing hand cream to keep your nails and cuticles in good condition.
- If you notice any cracks or peeling in your shellac polish, touch them up as soon as possible to prevent further damage.
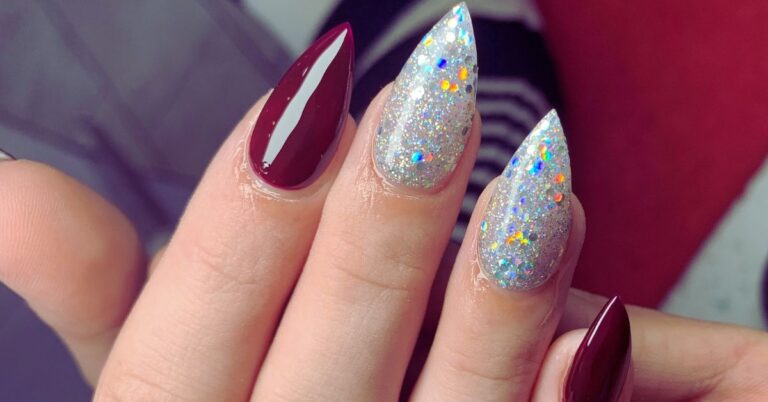
People often compare gel nails and shellac nails and weigh the pros and cons of each option when deciding which type of manicure to get. So, let’s check the key differences between gel and shellac nails and find which is better.
What Is The Difference Between Gel Nails And Shellac?
First, we can see both in detail.
Gel Nails:
- A thicker, more durable substance is applied as multiple layers over natural nails.
- Cured under a UV lamp.
- Can last up to two weeks.
- Soak-off removal process can take up to 20 minutes.
Shellac Nails:
- A thinner substance applied as a base coat, color coat, and topcoat.
- Cured under a UV lamp.
- Can last up to two weeks.
- Soak-off removal process takes just 10 minutes.
Which Is Better, Shellac Or Gel?
Shellac nails are better when compared with gel. Here are some reasons.
- Faster application process.
- Faster removal process.
- Less damaging to natural nails.
- Provides a glossy, high-shine finish that lasts.
- More affordable than gel nails.
- Dries quickly under a UV lamp, reducing the risk of smudging.
Shellac Manicure Procedure
As an initial step, go to your nail salon and chat with your manicurist to finalize the shape and color you want for your shellac mani. They will assess the health of your nail and cuticles and do the nail prep.
The steps involved in this nail procedure are
- Sanitize: Your manicurist will sanitize your hands and nails to make sure everything is germ-free before starting.
- Base Coat: Your manicurist will apply a base coat of dehydrator or primer to help the shellac adhere better.
- Apply The Shellac: They will paint on a thin layer of shellac polish, making sure to seal the tips of your nails. They will cure it under a UV lamp for two minutes. Then, they repeat with a second coat, curing it for another two minutes.
- Top It Off: To finish, your manicurist will add a thin layer of topcoat, curing it for two minutes under the UV lamp.
- Clean Up: Your manicurist will clean up any sticky residue with a lint-free wipe and some alcohol.
- Show Off: Admire your shellac manicure! It should last up to two weeks without chipping or peeling.
- Nail Maintenance: If you notice any chips or tips wearing down, simply book a touch-up appointment to keep your mani looking fresh.
How To Remove Shellac Nails At Home?
If you have been rocking your shellac nails for a few weeks and thinking of a change, there is no need to hit up the nail salon because you can do it at home – and it is super easy!
Here’s what are the tools you need:
- 100% pure acetone
- Cotton balls
- Foil
- A cuticle pusher or orange stick
- Nail file
- Moisturizing hand cream
Step 1: Gather Your Supplies
Make sure you have all of your supplies ready to go.
Step 2: Soak Your Nails
Pour some acetone into a small dish, and soak each cotton ball in the acetone. Then, place the soaked cotton balls onto each of your nails and wrap each nail in foil. Let the acetone soak for at least 10-15 minutes.
Step 3: Check The Progress
After 10-15 minutes, remove the foil. If the shellac polish is still intact, let your nails soak for a few more minutes. If the shellac polish starts to come off, move on to the next step.
Step 4: Remove The Shellac Polish
Using a cuticle pusher or orange stick, gently push the shellac polish off your nails. Let your nails soak for a few more minutes if it is still not coming off easily. Repeat this process until the shellac polish is completely removed from your nails.
Step 5: Smooth Out Your Nails
Once all the shellac polish is removed, smooth out the rough edges or ridges on your nails using a nail file.
Step 6: Moisturize Your Nails
Finally, apply some moisturizer to your nails and cuticles to help hydrate and restore any damage that may have been caused by the acetone.
Remember to always be gentle when removing the shellac polish, and never force it off, as this could cause damage to your natural nails.
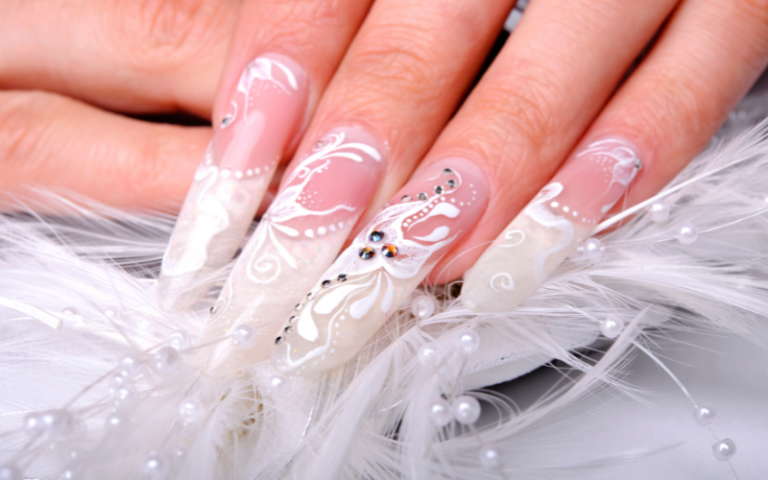
A Long-Lasting Manicure
Whether you’re headed to a wedding or a special event or just want to show off your flawless nails, shellac nails are a perfect choice. And with the option to remove them easily at home, there’s no reason not to try them out for yourself. So, give shellac nails a shot if you’re tired of constantly dealing with chipped and faded nails.
FAQs
Q: Can shellac be used for pedicures?
A: Yes, shellac can also be used for pedicures to give your toes a high-shine, long-lasting finish.
Q: How long does a Shellac manicure take?
A: A shellac manicure typically takes about 45 minutes to 1 hour, including the curing time under the UV lamp.
References
- 6 Tips For Long Lasting Shellac Nails: https://lesalon.com/blog/6-tips-to-long-lasting-shellac-nails/
- Shellac Nails: A Long-Lasting Manicure: https://bellatory.com/makeup/shellac-nails-manicure
- Shellac Nails: The Pros, Cons, And Whether They’re *Really* Better Than Gels: https://www.cosmopolitan.com/style-beauty/beauty/a29774231/shellac-nails-pros-cons/
- Shellac Nails: The Manicure That Promises Gel Results With Less Damage: https://www.instyle.com/beauty/nails/what-are-shellac-nails
- Shellac Nails: A Long-Lasting Manicure: https://bellatory.com/makeup/shellac-nails-manicure